Hello team,
Following the Azure Functions and Dynamics 365 series, our next chapter after authentication is to perform CRUD (Create, Read, Update, Delete) Operations.
I am going to divide this topic into 2 different parts:
- Using Postman to test and generate the Requests
- Using David Yack’s Library (currently using this one in a project)
Let’s get started 😊
Postman and generated HTTPS Requests
Why using Postman, because it is so cool! Honestly, if you haven’t tried it already, please do! It is one of the main tools I use these days.
It will give us the flexibility to:
- Find out the metadata and the format that the Web API (More on this in another part of this series)
- Test our requests against the environment
- Generate the code for us to copy and paste
You can get it from here: https://www.getpostman.com/ and you can configure it to work with Dynamics 365 following this Microsoft guide: https://docs.microsoft.com/en-us/dynamics365/customer-engagement/developer/webapi/use-postman-web-api
You have plenty of examples by Microsoft in the documentation but let me show you the ones that I use the most:
Get Metadata
Why: Because I always forget the schema names of the fields and especially the relationships are a little bit different when using the Web API directy.
Syntax: {{webapiurl}}/$metadata#
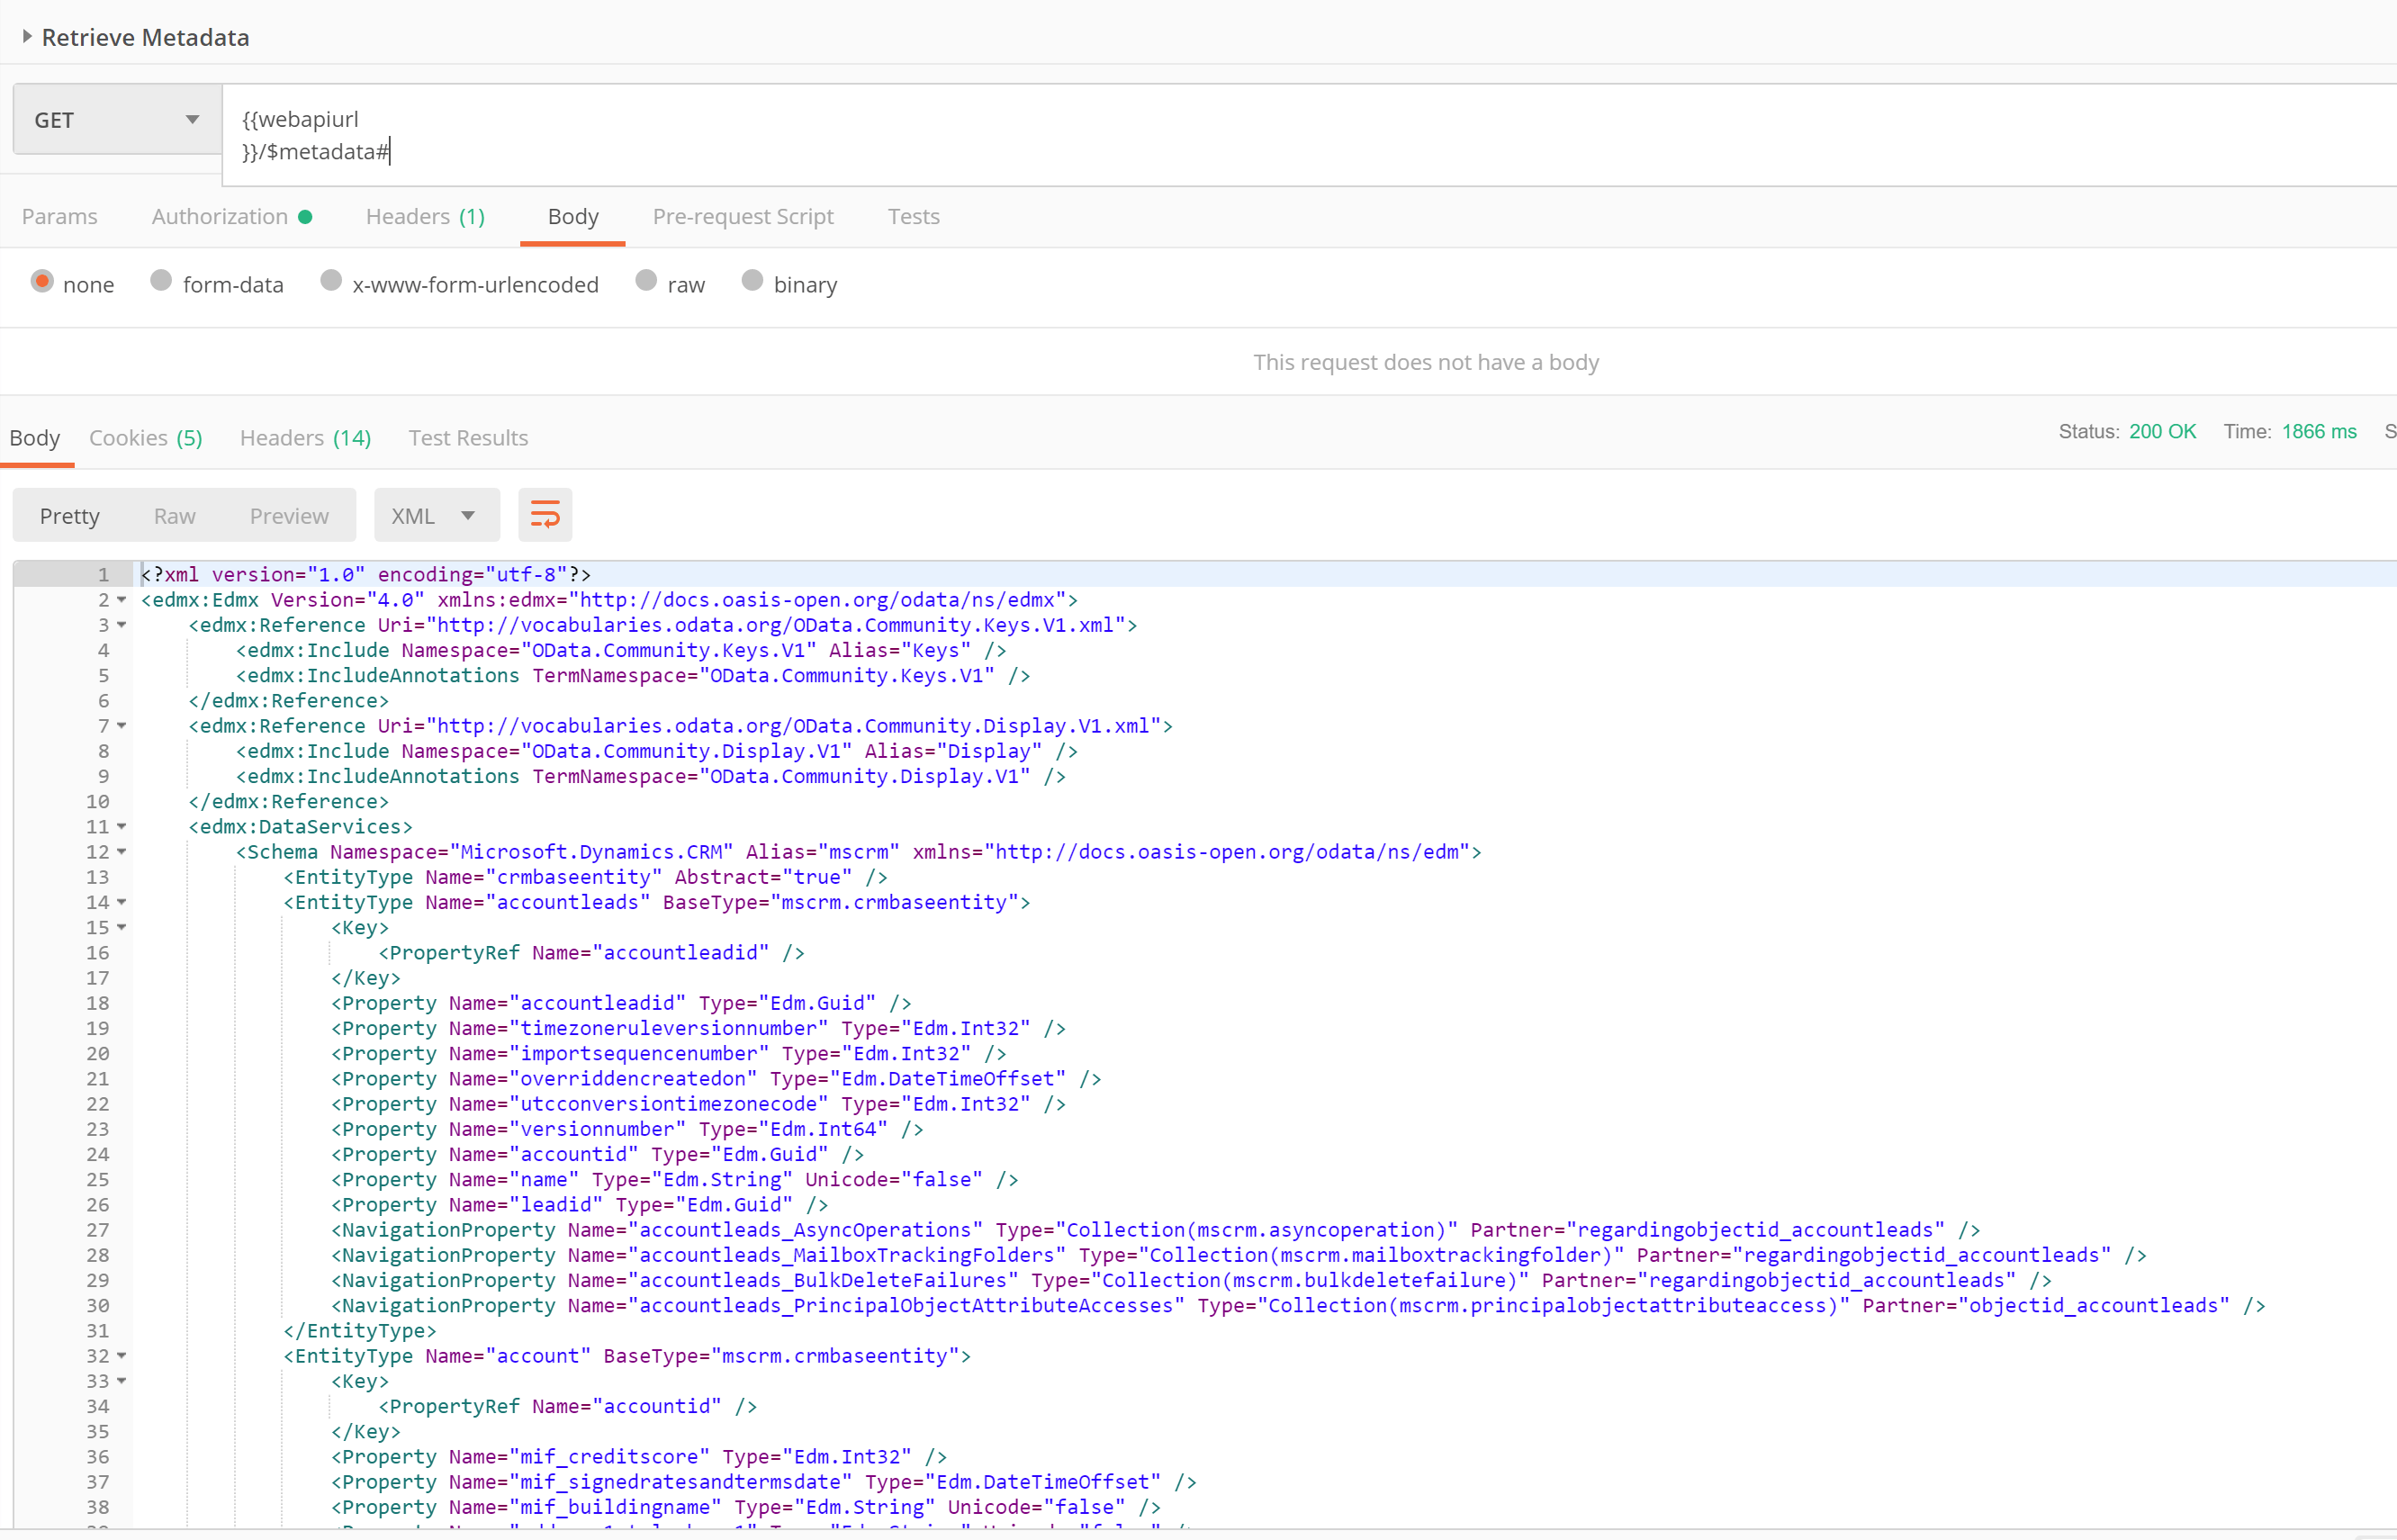
We could use this metadata to generate classes that we can use to deserialize our responses later on and also to make sure we use the correct field names when retrieving data; the names can be a little bit different depending on the types
Retrieve top 2 records with all the fields
Why: Similar reason to the previous one, with this one I get the schema names and also some data so I can make sure that when I am creating, updating or deserializing my response in code, I don’t make mistakes 😊
Syntax: {{webapiurl}}/accounts?$top=2
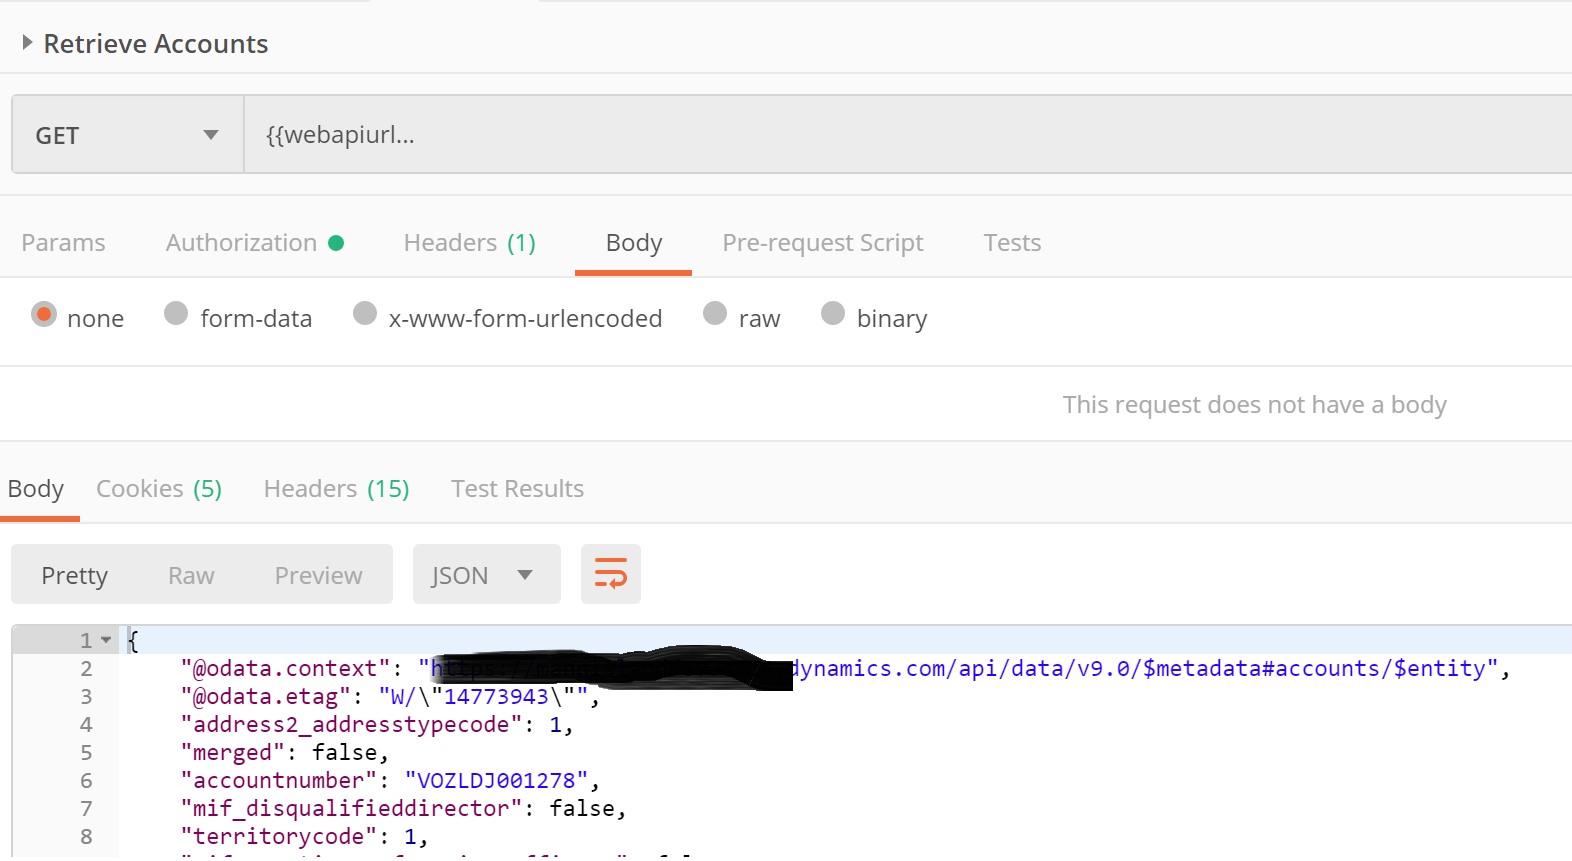
I find this one easier to get the correct field names as the previous one gives us too much data, hence why I am only returning top 2 records.
[IMPORTANT] Remember to use the plural names of the entities.
Create Records
Why: Do you want to make sure that HTTP Request is going to work? Why don’t you try it first here? Are you setting up that relationship correctly with the @odata.bind? Try it first!
Syntax : {{webapiurl}}/accounts

Example Body:

{

Name: "Postman Test",

primarycontactid@odata.bind: "contacts(ContactGuid)"

}
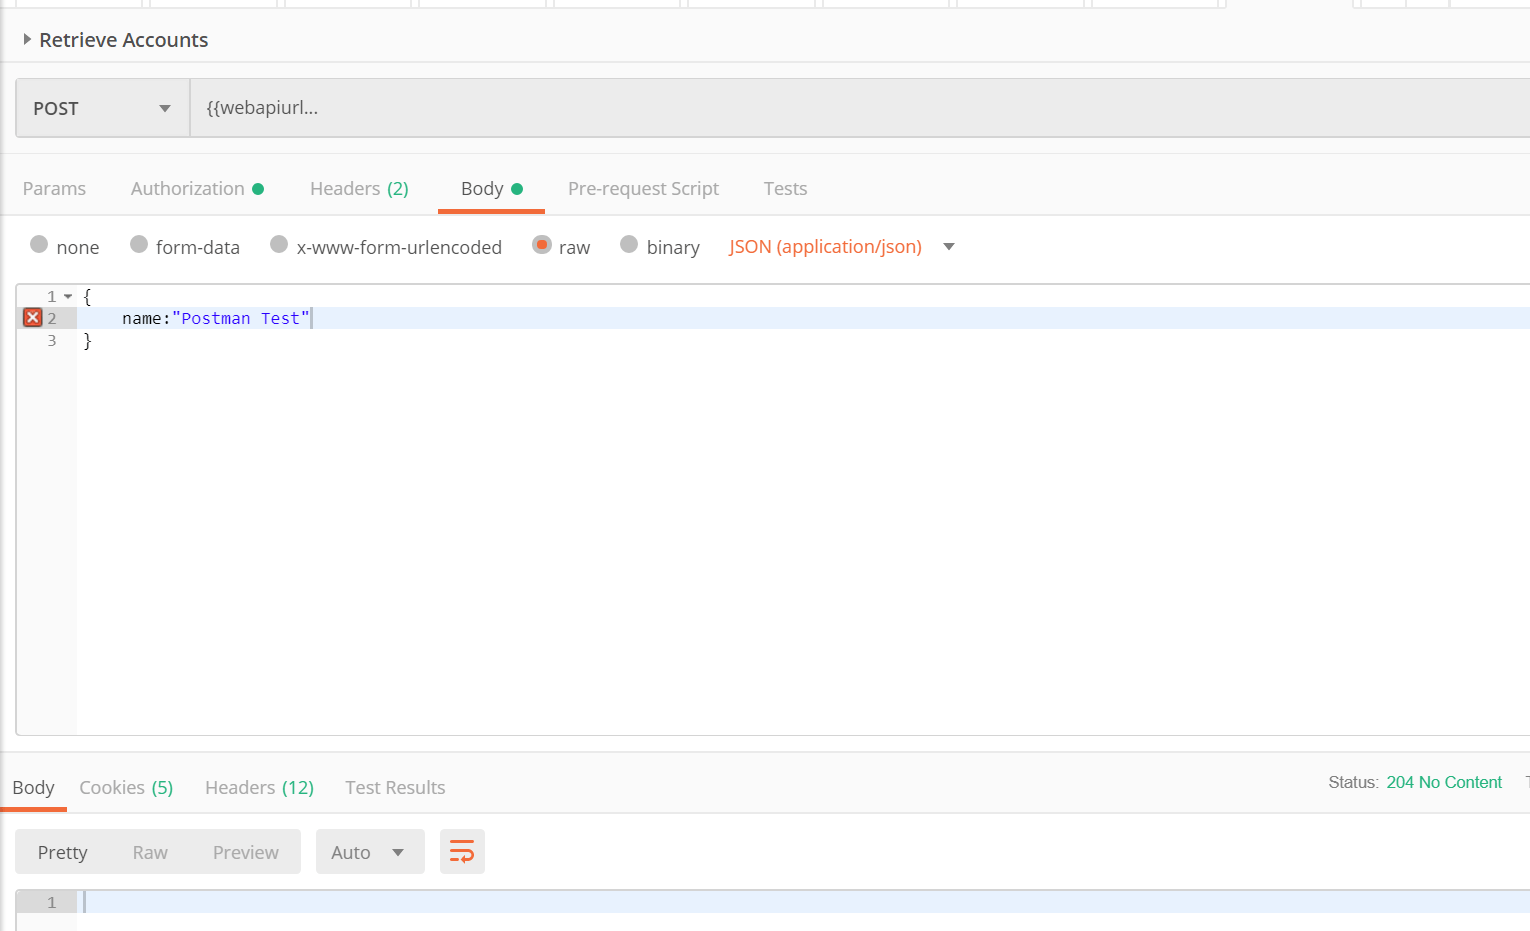
When creating records it is important to remember that we will get back a 204 Status and the ID of the record will be in the headers of the response!
Generate that code for me please!
One of the really cool features of Postman is the ability to generate the code for our request. In order to try this you need to go to the right hand side corner: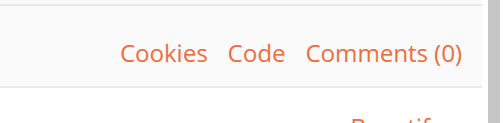
Click on Code and choose the language that you want:
Then you just need to copy and paste in your Azure Function!!!
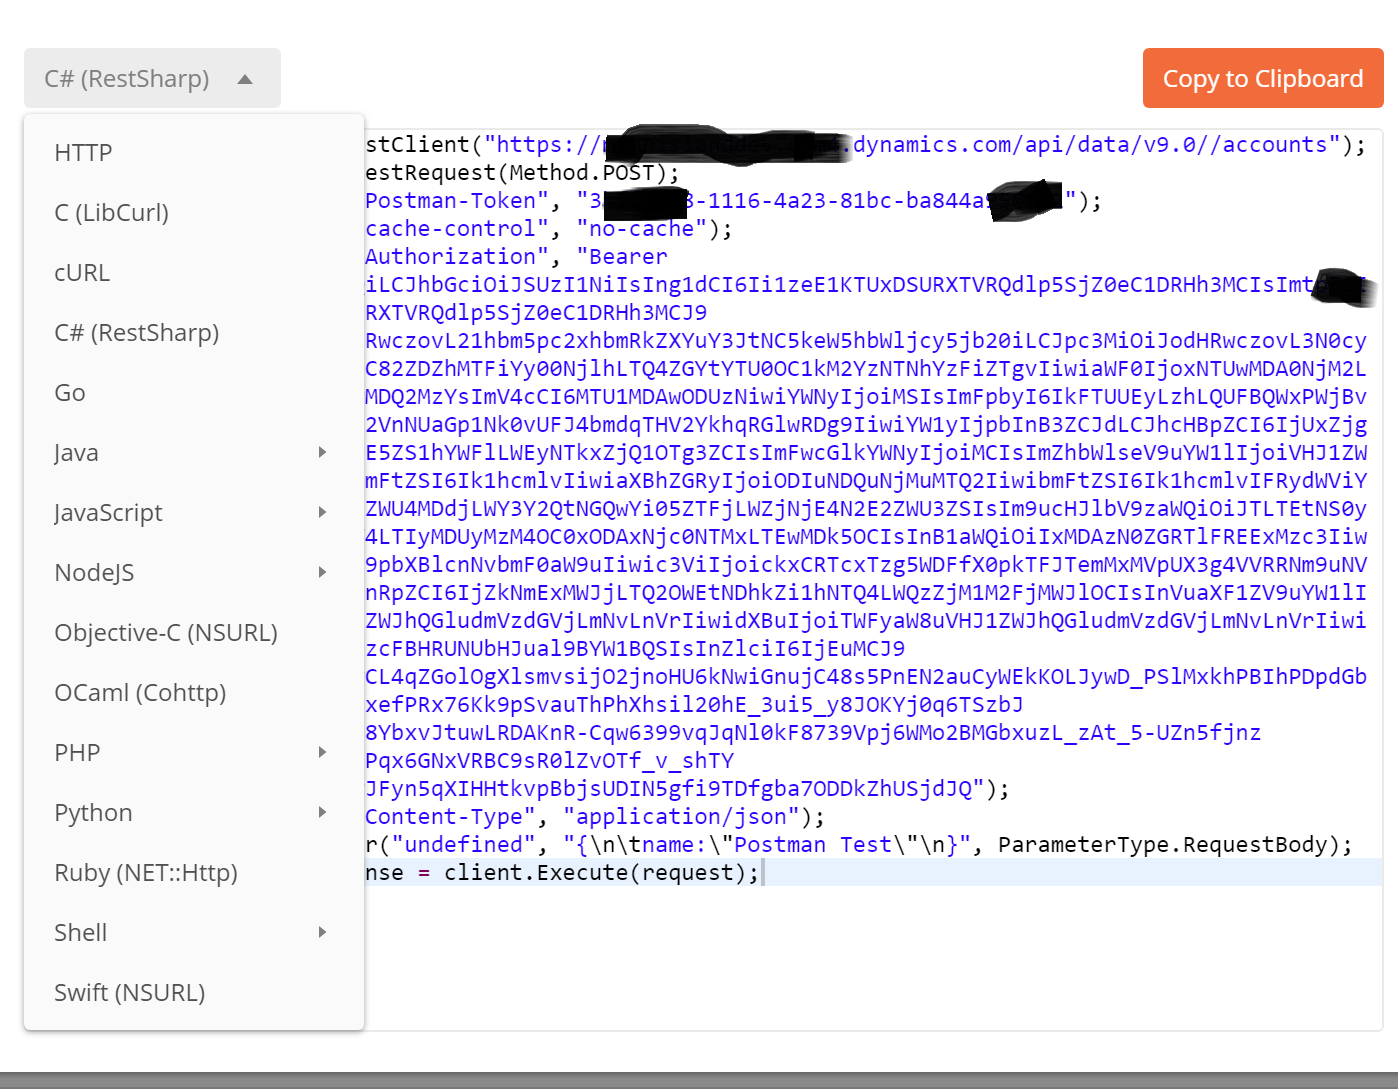
Just remember to change the Authorization to the one that we got in our previous post!
And that is all for today’s post, it is a big topic and I don’t want you guys to fall sleep, next week we are going to have a look at one of the libraries that I use: https://github.com/davidyack/Xrm.Tools.CRMWebAPI
Thanks,
Mario


Leave a comment